Materials such as the fabrics of towels contain ‘maps’ to create a realistic view. In this article the concepts of diffuse maps, bumpmaps and displacement maps are explained and how to use it in ViSoft. The effects are mainly visible after rendering with phototuning.
There are two ways to add maps to an object.
1) Add or copy the object to .custom objects in the sanitary browser. Open the Object properties. Go to tab material and open advanced parameters. Open the objects parts browser or select the material you want to edit in the preview. Now you can load/edit maps.
2) Open menu View | Material and select the material you want to edit. Under simple and advanced parameters you will find the maps.
Diffuse map
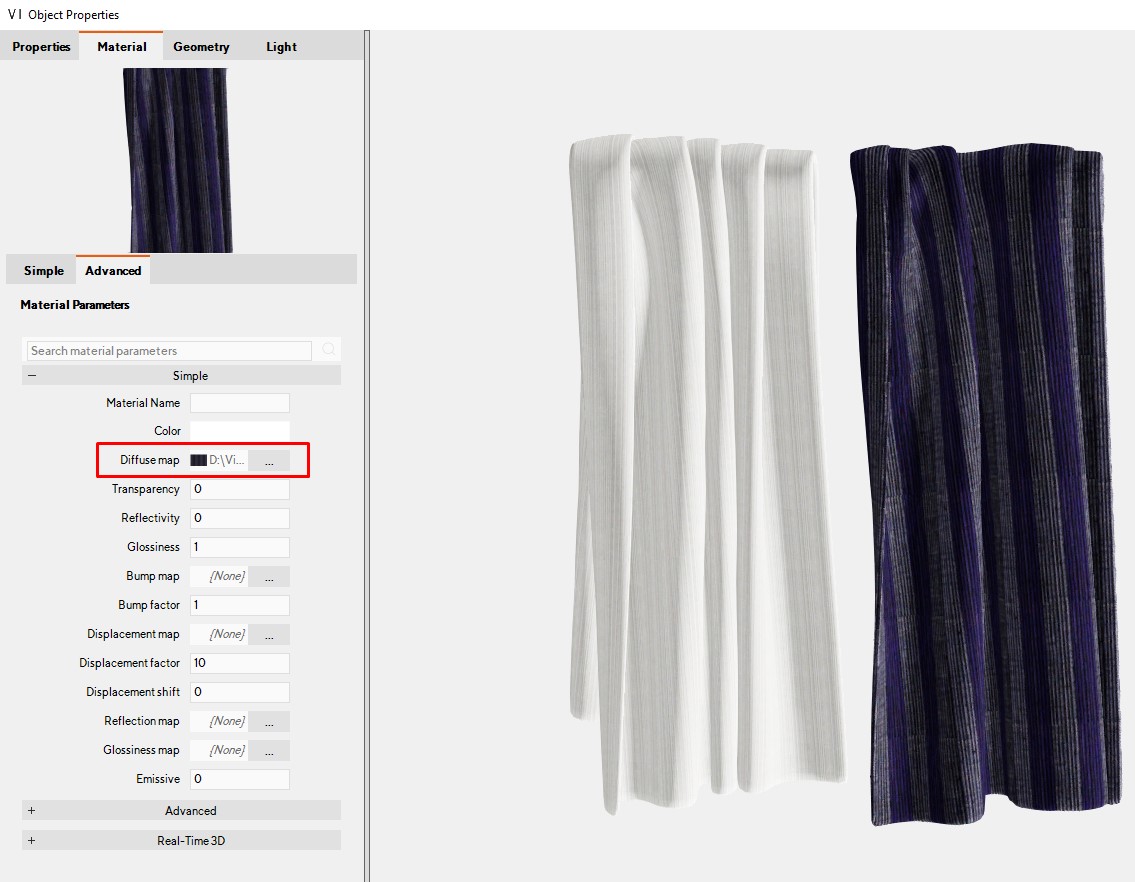
A diffuse map is a texture image that contains a colormap, like the image below.


Bump map
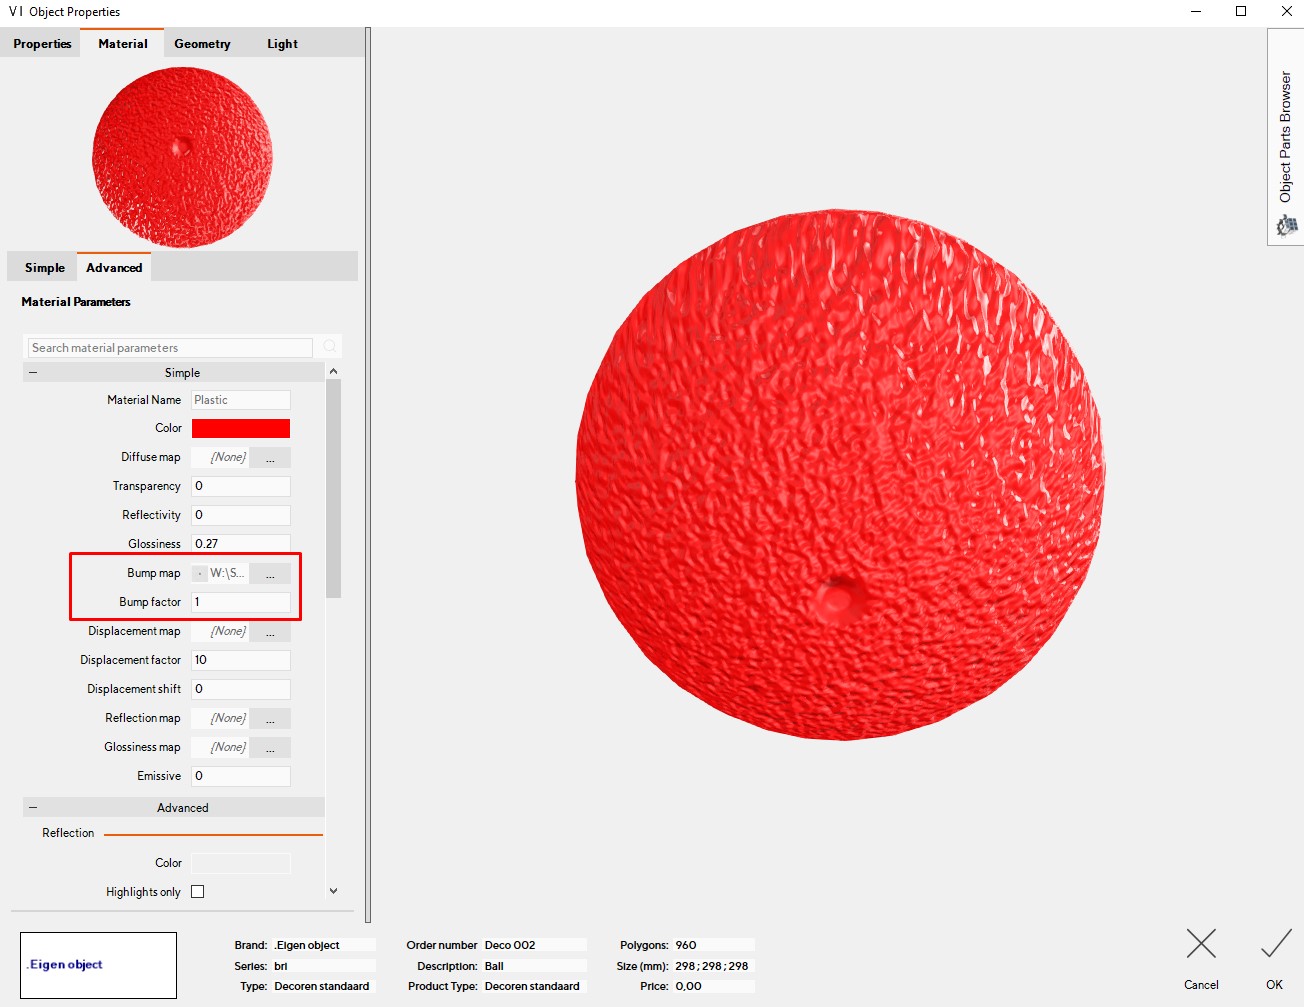
Bump mapping is a technique in 3D-visualization to simulate details such as bumps and wrinkels on the surface of an object. A bump map contains a gray-scale image of the texture. The detail that is generated is simply an exposure trick, polygons are not actually added to the 3D object.

A round object without maps.

The texture gives the illusion of depth on the ball.

Displacement map
When a displacement map is used, the texture of an object is actually adjusted. Instead of a depth illusion such as with bump mapping, the texture is ‘moved’: depth and height are added to the surface to create relief.
The displacement map below is used on the ball and gives the following result after rendering in ViSoft :


Compare the different effects of the bump and displacement map in the image above. The same texture is placed as a bump map on the front ball. On the second ball, you can see the texture of the displacement map again.
Thee website 3D Textures offers free and complete texture sets with displacement maps, normal maps, diffuse and more.
On vismats.com you can download a lot of free material images. You can import the images as custom material in the Material Library.